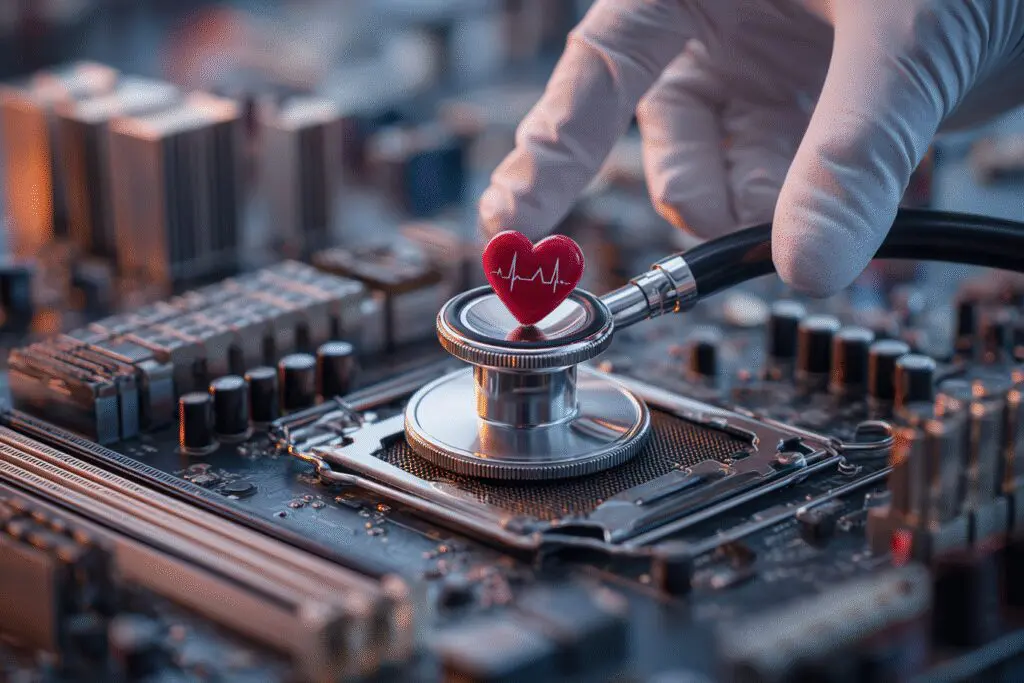
Ever pushed the power button on your prized PC, only to be met with a soul-crushing silence? It’s a moment every computer owner dreads. Your machine, the hub of your work, gaming, or creative life, suddenly becomes an expensive paperweight. Instantly, your mind races through a dozen terrifying possibilities. Is it the power supply? The CPU? Or could it be the very heart of the system—the motherboard? Learning how to tell if a motherboard is dead is a process of elimination, a bit of digital detective work that can save you time, money, and a massive headache.
The motherboard is the central nervous system of your computer. It’s the sprawling electronic city where every single component connects and communicates. Consequently, when it fails, the symptoms can be confusing and often mimic other hardware problems. This guide will walk you through the entire process, from identifying the initial warning signs to performing conclusive tests and, finally, figuring out your next steps. Let’s get our hands dirty and figure out what’s really going on inside that case.
More in Motherboards & Storage Category
Is Samsung EVO Good for Gaming
What Is the Best Motherboard for Gaming
How to Add More Storage to PC for Gaming
What Are the First Obvious Signs of a Dead Motherboard?
Before you start tearing your PC apart, it’s crucial to observe the symptoms closely. A dying motherboard will often give you clues about its impending doom. Sometimes these signs are loud and clear, while other times they are frustratingly subtle. The first and most common indicator is a failure to POST.
The Power-On Self-Test, or POST, is the initial diagnostic sequence your computer runs the moment you turn it on. It’s a quick check to ensure all essential hardware is present and functioning correctly. If you see the manufacturer’s logo (like Dell, HP, or ASUS) appear on the screen, your system has likely passed the POST. If the screen remains black, you have a POST failure, and the motherboard is a primary suspect.
Does the Computer Fail to Turn On at All?
This is perhaps the most alarming symptom. You press the power button, and absolutely nothing happens. No fans spin, no lights turn on, no sounds are made. Now, this is also the classic sign of a dead Power Supply Unit (PSU), which can make diagnosis tricky.
However, there’s a subtle difference to watch for. A failing motherboard might allow the fans to spin for a split second before everything shuts down. You might see the case LEDs flicker for an instant. This indicates that the PSU is trying to deliver power, but the motherboard is failing to manage it and initialize the system. In contrast, a completely dead PSU usually results in absolute, unambiguous nothingness.
Are You Seeing Random Shutdowns or Reboots?
A motherboard doesn’t always die a sudden, dramatic death. Sometimes, it’s a slow, agonizing decline. Your computer might start randomly shutting down or restarting without any warning or Blue Screen of Death (BSOD). One minute you’re working on a spreadsheet, and the next, your screen goes black and the system reboots.
This instability can be caused by failing capacitors or a damaged voltage regulator module (VRM) on the motherboard, which can no longer provide stable power to the CPU and other components. It can also be a sign of overheating, but if your temperatures are normal, the motherboard’s health is questionable. I once had a gaming rig that started doing this. It would run fine for hours and then just give up. For a week, I blamed software, drivers, and everything else before finally accepting that the board itself was on its last legs.
What Do Those Beep Codes Mean?
If your screen is black but you hear a series of beeps coming from inside the computer case, don’t ignore them! This is not a cry of despair; it’s a diagnostic code. Your motherboard is trying to tell you exactly what’s wrong.
These beep codes are a form of communication for when the video output isn’t working. The pattern of short and long beeps corresponds to a specific hardware issue.
- One short beep: Usually means the system has passed the POST and is booting normally. This is the sound you want to hear.
- A series of short, continuous beeps: Often points to a power issue, potentially with the motherboard or PSU.
- One long beep followed by two or three short beeps: This commonly indicates a problem with the graphics card.
- Continuous long beeps: This is frequently a sign of a memory (RAM) issue.
The exact meaning of the codes varies depending on the motherboard’s BIOS/UEFI manufacturer (like AMI, Award, or Phoenix). To decipher them, you’ll need to consult your motherboard’s manual or look up the codes online. For a comprehensive list, Indiana University maintains an excellent resource on computer POST and beep codes that can be incredibly helpful.
Have You Noticed Any Burning Smells or Visible Damage?
This one is less common with modern hardware, but it’s the most definitive sign of all. Your senses, particularly your sense of smell, can be powerful diagnostic tools. If you notice a sharp, acrid smell of burning plastic or electronics, unplug the computer from the wall immediately.
Afterward, open up the case in a well-lit area and perform a careful visual inspection of the motherboard. Look for:
- Scorched or blackened areas: Pay close attention to the area around the CPU socket and the VRMs.
- Bulging or leaking capacitors: Capacitors are small cylindrical components. If the tops are bulging or leaking a crusty, brown substance, they have failed. Back in my college days, dealing with older PCs, this was a surprisingly common sight.
- Damaged traces or broken connectors: Look for any physical damage on the board itself.
If you see any of this, you don’t need to test any further. The motherboard is fried.
How Can I Test My Motherboard to Be Sure It’s Dead?
If the initial signs are inconclusive, it’s time to roll up your sleeves and perform some hands-on tests. The goal here is to isolate the motherboard from all other components to confirm it is the source of the problem. This requires a methodical approach. Panicking and swapping parts randomly will only lead to more confusion.
Before you touch anything inside your computer, make sure you unplug the power cord from the wall and ground yourself to discharge any static electricity. You can do this by touching a large metal object, like the metal part of your computer case.
What is the “Barebones” Boot Method?
This is the gold standard for isolating a motherboard issue. The idea is to remove every non-essential component, creating the simplest possible system that should still be able to POST. If it fails in this minimal configuration, the motherboard (or CPU) is almost certainly the culprit.
Here’s how you do it step-by-step:
- Disconnect Everything: Unplug all peripherals—USB devices, audio cables, and monitors.
- Open the Case: Remove the side panel of your PC.
- Strip It Down: Carefully unplug and remove all components from the motherboard except for the following:
- The CPU and its cooler.
- One single stick of RAM (if you have multiple, just use one for now).
- The 24-pin main power connector from the PSU.
- The 4/8-pin CPU power connector from the PSU.
- Test It: You can either leave the motherboard in the case or, for more advanced users, take it out and place it on a non-conductive surface like its original cardboard box. With just the CPU, cooler, and one stick of RAM installed and powered, try to turn it on. If it still fails to POST (no video, no beep codes), you’ve narrowed down the problem significantly.
Should I Check the CMOS Battery First?
Before you declare the motherboard dead, there’s one last-ditch, simple fix to try: resetting the CMOS. The CMOS battery (a small, silver, coin-like battery on the motherboard) powers a chip that stores your BIOS/UEFI settings, including the time, date, and boot order.
Sometimes, these settings can become corrupted, preventing the system from booting. Removing the battery for a few minutes and then putting it back in will reset these settings to their factory defaults. It’s the tech equivalent of a hard reset for your PC’s fundamental brain. On some motherboards, there’s also a jumper (a small plastic-covered pin) labeled CLR_CMOS that you can use to do the same thing. It’s a long shot, but it’s so easy to do that you should always try it.
How Do I Test the Individual Components on Another System?
This is the final, definitive step if you have access to another compatible, working computer. By taking your components and testing them one by one in a different system, you can prove their innocence.
Take your graphics card, your RAM, and even your power supply and install them in the known-good PC. If they all work flawlessly there, you’ve completed your process of elimination. The only major component left that hasn’t been tested is your motherboard. It’s the lonely suspect left at the scene of the crime. This was how I solved a major issue once; I was convinced my expensive GPU had died because I was getting no video output. After three hours of troubleshooting, I tested the GPU in a friend’s PC, where it worked perfectly. The real culprit was a dead PCI-Express slot on my motherboard.
Is It a Dead Motherboard or Something Else Entirely?
Misdiagnosing a dead motherboard is incredibly common because so many other component failures look the same. Before you rush out to buy a replacement, let’s take a moment to consider the other likely suspects.
Could It Just Be a Faulty Power Supply (PSU)?
The PSU is the most common component to be mistaken for a dead motherboard. As mentioned earlier, a complete failure of the PSU will prevent the computer from turning on at all. Honestly, sometimes telling a dead PSU from a dead motherboard feels more like guesswork than science, especially when they both just… stop.
If you have a spare PSU, the easiest test is to swap it in. If not, you can try the “paperclip test” to see if the PSU fan spins up, but be warned: this involves overriding safety features and should only be done with extreme caution after watching a detailed tutorial. A safer bet is to take the PSU to a local computer shop where they can test it for you.
What If My RAM or CPU is the Problem?
A faulty stick of RAM is another common culprit for a system that won’t POST. This is why the barebones test is so useful. Try booting with just one stick of RAM. If it doesn’t work, swap it for a different stick and try again in a different RAM slot. If the system boots with one stick but not another, you’ve found your problem: a bad RAM module, not a dead motherboard.
CPU failure is very rare. A CPU has no moving parts and will typically outlast the rest of the system, but it can happen. A dead CPU will almost always result in a system that appears to have a dead motherboard—power might come on, but nothing happens on screen. It’s usually the last thing you should suspect after you have exhaustively ruled out every other possibility.
Did I Forget to Plug Something In?
Look, we’ve all done it. In the heat of troubleshooting, it’s easy to overlook something simple. I once spent an hour diagnosing a “dead” system only to find the 8-pin CPU power connector had wiggled loose. Before you make a final diagnosis, re-seat every single cable and component. Unplug them and plug them back in firmly. Check the RAM, the GPU, and especially all the power connectors. Sometimes the fix is just that simple.
My Motherboard is Definitely Dead. Now What?
So, you’ve done the tests, ruled out all the other components, and come to the sad conclusion that your motherboard is, in fact, a goner. It’s a frustrating moment, but now you can move forward with a solution.
Can a Dead Motherboard Be Repaired?
For the vast majority of users, the answer is no. Modern motherboards are incredibly complex, multi-layered printed circuit boards. Finding the specific point of failure and repairing it requires specialized equipment and expertise. While it might be technically possible for an expert to replace a failed capacitor or chip, the labor costs would quickly exceed the price of a brand-new board. For all practical purposes, a dead motherboard should be considered a replaceable, not repairable, part.
How Do I Choose a Replacement Motherboard?
This is the most critical part of the process. You can’t just buy any motherboard off the shelf; it has to be compatible with your existing components, specifically your CPU and RAM. Replacing a motherboard is effectively a PC transplant, and you need a compatible donor.
Here’s what you absolutely must check for:
- CPU Socket: This is non-negotiable. The socket on the motherboard must match your CPU. For example, a modern Intel Core i7 might use an LGA 1700 socket, while a new AMD Ryzen 9 uses an AM5 socket. These are physically different, and a CPU for one will not fit in the other.
- RAM Type: Your new motherboard must support the type of RAM you have. If your system uses DDR4 RAM, your new board must have DDR4 slots. You cannot use DDR4 sticks in a DDR5 motherboard, or vice-versa.
- Form Factor: Motherboards come in different sizes, such as ATX (standard), Micro-ATX (smaller), and Mini-ITX (tiny). Your replacement board must be the same form factor as your old one to ensure it will fit in your computer case and align with the screw holes.
- Chipset: The chipset determines many of the motherboard’s features. While multiple chipsets might support your CPU, you’ll want one that meets your needs for things like overclocking, the number of M.2 slots, and the quantity of USB ports.
The Big Rebuild: A Quick Checklist
Replacing the motherboard is a big job, but it’s manageable. Think of it as rebuilding your PC from the ground up. Take your time, stay organized, and you’ll get through it.
- Take Pictures: Before you disconnect anything from the old board, take several photos with your phone from different angles. This will be an invaluable reference for where all the tiny front-panel connectors go.
- Ground Yourself: Static electricity is the enemy. Work on a hard surface and touch the metal case frequently to stay grounded.
- Work Outside the Case: It’s much easier to install the CPU, cooler, and RAM onto the new motherboard while it’s sitting on its box, rather than trying to do it inside the cramped confines of the case.
- Don’t Forget the I/O Shield: This is the thin metal plate that surrounds the ports on the back of your PC. It’s the single most forgotten part in PC building history. Make sure you snap it into the case before you install the motherboard.
- Prepare for Reactivation: Be aware that changing your motherboard will likely cause Microsoft Windows to deactivate, as it sees the new board as a new computer. You may need your original Windows product key to reactivate it.
Losing a motherboard is a tough blow for any PC owner, but it’s also an opportunity. It’s a chance to upgrade, to rebuild your system better than it was before, and to once again get that deeply satisfying feeling of pressing the power button and watching your creation roar back to life. Good luck, and happy building.
Frequently Asked Questions – How to Tell If a Motherboard Is Dead

What are the final steps to confirm that a motherboard is truly dead?
Final confirmation can involve minimal setup through breadboarding—testing the motherboard outside the case with essential components—or swapping the CPU and RAM to a known working motherboard, ensuring other parts are not causing the problem.
Why should I test the power supply unit (PSU) when troubleshooting a dead motherboard?
Since a bad PSU can cause symptoms similar to a dead motherboard, testing it with a PSU tester or swapping in a known good PSU can help determine if the power supply is the issue instead of the motherboard.
What is a POST test and how does it help determine if the motherboard is dead?
A POST (Power-On Self-Test) is a diagnostic process run when turning on your PC. If it fails to start or output error beeps, and other parts like the CPU and RAM are functioning, it often suggests a motherboard problem.
How does visual inspection help diagnose a faulty motherboard?
Visual inspection can reveal physical damage like burnt smells, scorch marks, bulging or leaking capacitors, deep scratches, broken ports, or cracks on the motherboard, all of which can indicate severe hardware failure.
What are the first signs indicating a motherboard might be dead?
Early signs of a dead motherboard include the computer being completely unresponsive when the power button is pressed, such as no lights, fans, or sounds, which suggests the system is not receiving power or cannot start properly.


