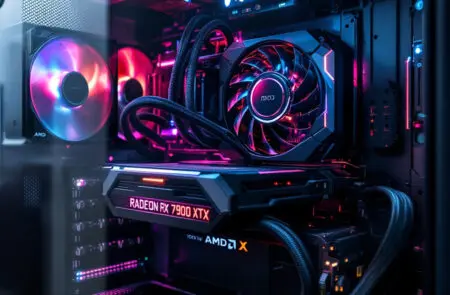
There’s a certain magic to building or upgrading your own computer. It’s a feeling that’s equal parts raw excitement and, if we’re being honest, a healthy dose of nerves. You’ve got all these powerful, expensive parts laid out, and it’s up to you to breathe life into them. At the very heart of that machine, both literally and figuratively, is the Power Supply Unit, or PSU.
This little box is the unsung hero, the tireless heart pumping electrical lifeblood to every other component. Your beastly graphics card and cutting-edge processor are nothing but fancy paperweights without it. That’s why figuring out how to install a power supply unit PSU is one of the most vital and satisfying skills any PC builder can learn.
I know it looks daunting. My first build is still burned into my memory. I had this brand-new PSU, and out of the box came a tangled mess of cables that looked like a mechanical octopus. I was terrified that one wrong move, one incorrect plug, would send all my hard-earned components to silicon heaven. But I took a deep breath, took my time, and got through it. You will too. This guide is my way of being the friend who’s been there, walking you through every step, from choosing the right unit to conquering those cables and finally, triumphantly, hitting the power button.
More in Power Supplies Category
What is The Best Power Supply For an AMD Radeon RX 7700 XT
Key Takeaways
- Don’t Zap Your Gear: Safety is everything. Before a single screw is turned, your PC must be unplugged from the wall. You also need to ground yourself. Static electricity is the silent killer of computer components.
- Make Sure It Fits and Feeds: Not all PSUs are the same. Double-check that you have the right wattage for your parts, the right physical size (ATX, SFX, etc.) for your case, and all the necessary cables for your motherboard and graphics card.
- Tame the Cable Monster: Managing your cables isn’t just for showing off a clean build online. Good cable routing means better airflow. Better airflow means a cooler, quieter, and happier computer that lasts longer.
- Test Before You Box It Up: That final, exhilarating moment of hitting the power button should happen before you put the side panel back on. A quick test ensures all your connections are solid and saves you the pain of tearing it all down again for a simple fix.
Before We Dive In, Are You Actually Ready?
In the world of PC building, preparation isn’t just part of the job; it’s most of the job. Diving in without the right tools or the correct parts is a surefire way to end up frustrated, staring at a half-finished machine. So, before you even reach for a screwdriver, let’s pause. Let’s gather our tools and make absolutely certain we have the perfect PSU for our needs. A few minutes spent now will save you a world of hurt later.
Think of it as setting up your kitchen before you cook. You get your ingredients out, you sharpen your knives, you clear your counter. We’re going to do the same for our PC.
What Tools Should I Have on Hand?
You don’t need a high-tech lab to install a power supply, but a few key items will make your life tremendously easier and safer. I’ve built up a small toolkit over the years, but these are the absolute essentials.
Here’s what you should have right next to you:
- A Phillips #2 Screwdriver: This is the undisputed king of PC building tools. It will fit virtually every screw in your case, including the ones holding the PSU in place. If you can get one with a magnetic tip, do it. It’s a lifesaver when you inevitably drop a screw into a dark corner of the case.
- Cable Ties: A few zip ties or, even better, some reusable velcro straps are your best weapons in the war against cable clutter. They are the key to achieving that clean, organized look inside your case.
- An Anti-Static Wrist Strap: Seriously, get one of these. Electrostatic discharge (ESD) can fry your components without you even knowing it happened. This simple strap clips to the metal frame of your case and keeps you safely grounded. It’s the cheapest insurance policy you’ll ever buy.
- A Light Source: PC cases are dark. A small flashlight or just your phone’s light will be invaluable for seeing what you’re doing, especially when you’re trying to plug in a tiny connector in a tight spot.
How Do I Pick the Right PSU for My Build?
Choosing a PSU isn’t just about getting enough watts. It’s about getting clean, reliable power that will keep your system stable and give you room for future upgrades. This component is the foundation of your entire PC. Skimping here can lead to random crashes, instability, and, in a worst-case scenario, it can take other components down with it when it fails.
First up, wattage. How much juice do you really need? While you can manually add up the power draw of your parts, it’s much simpler to use an online PSU calculator from a trusted site like PCPartPicker. My personal philosophy is to calculate the estimated load and then add a buffer of about 20-30%. This ensures your PSU isn’t always running at 100% capacity, which makes it quieter and more efficient, and it leaves you power for that shiny new graphics card you’ll want next year.
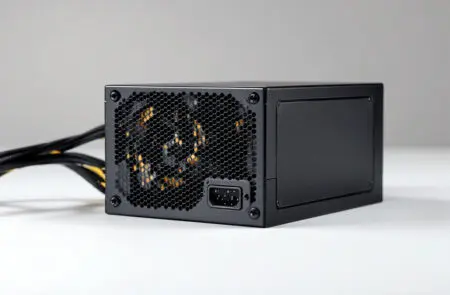
Then there’s the form factor, which is just a fancy way of saying its size and shape. The ATX standard is the most common and fits in most desktop cases. But if you’re building a compact, small form factor PC, you’ll likely need an SFX or SFX-L power supply. Always check your case’s manual to see what it supports.
Lastly, let’s talk modularity. This is all about the cables.
- Non-Modular: Every possible cable is permanently attached. These are usually the cheapest, but you’re left with a big wad of unused cables you have to stuff somewhere.
- Semi-Modular: The most essential cables (motherboard and CPU power) are attached, while others for things like hard drives and fans are optional. It’s a fantastic compromise.
- Fully Modular: Every single cable is detachable. This gives you maximum control and makes cable management a dream because you only use what you need. For any build I’m serious about, this is the only way to go.
So, How Do I Get the Old Power Supply Out?
If this is an upgrade, your first task is to carefully remove the old unit. Treat it like a surgical procedure. It’s tempting to rush and just start pulling things, but a slow, methodical approach will ensure you don’t damage your motherboard or anything else. Those connectors are meant to be snug.
I learned this lesson the hard way. Years ago, I was rushing a PSU swap for a buddy and I reefed on the big 24-pin motherboard connector. The crack I heard was sickening. Thankfully, it was only the plastic retaining clip on the cable, not the motherboard socket, but my heart skipped a beat. Don’t be me. Be gentle.
Is It Really That Important to Disconnect Everything First?
Yes. One hundred percent. Absolutely. We are dealing with electricity. Your safety, and the life of your hardware, depends on making sure the machine is completely and totally disconnected from any power source. Do not skip this.
Shut down the PC through the operating system. Then, the most important step: unplug the thick power cord from the back of the computer. Not just from the wall outlet, from the PSU itself. Once it’s unplugged, press the power button on the front of the casets few times. You might see aelf. After a fan twitch or an That’s the last bit of stored energy leaving the capacitors. For good measure, it’s always smart to follow safety guidelines from reputable sources like thercesthe ced s University of Washington’s engineering labs on handling electronics.
Finally, unplug everything else—monitor, keyboard, mou, everything. PC You w alone and free on your workspace.
Where Do All These Internal Cables Go?
Okay, time to open the case and face the spaghetti monster.web of internal ca anything, grab your phone and takebl few pictures from different angles.icturphone. map of where everything connects can be an absolute lifesaver when you’re putting it all back together.
Now, trace each cable from the old PSU to its destination. The main players are:
- 24-pin Motherboard Connector: The big one. It’ss is the main p line for the motherboard and has a little clip on the side you have to squeeze to release it.
- 4/8-pin CPU Connector: Usually hiding at the top of the motherboard near the processor.rd,e to the CPU s clip, too.
- PCIe (6/8-pin) Connectors: These are for your graphics card. A power-hungry GPU might need one, two, or even three of them.
- SATA Power Connectors: These flat, L-shaped connectors are for your hard drives and SSDs.
- Molex Connectors: Anolid-st chunkyate dr connector you might find on some case fans or other accessories.
Work on one connector at a time. Squeeze the clip, and gently wiggle it free. Never, ever pull on the wires themselves—always grip the plastic housing.
How Do I Physically Remove the PSU From the Case?
With.
How De?
Onc disconnected, the last step is to unbolt the unit from the PC case. Look at the back of thethe PSU from the c fan grill f in a square or rectangular pattern around the PSU’s fan and power socket.
Thosehassis.
Thes the on holding it in. Get your Phillips screwdriver and remove them. Pro tip: when you get to the last screw, slide a hand inside the case to support the PSU’s weight. That way, it won’t suddenly drop and bang against your motherboard. Once the screws are out,tching onting something inside your case. With the nest you can n rightow gently slide the ol with that, the transplant has begun.bles out of the case.
And just like that, the old heart has been removed.
It’s Time! How Do I Install the New Power Supply Unit PSU?
With the old unit out, you now have a clean slate. This is the exciting part—installing the powerful new heart of your machine. The physical installation is often the easiest part of the process. It’s mostly about orientation and a few screws. The real art comes with connecting the cables, which we’ll get to next. For now, let’s focus on getting the box securely in place.
Take your new PSU out of its packaging. Take a moment to appreciate it. If you got a modular unit, leave the cables aside for now. We’re just installing the main unit first.
Which Way Does the PSU Fan Go?
This is one of the most common questions people have, and it’s an important one for thermal performance. The big fan on your PSU is an intake, pulling air in to cool its internal components. The question is, where should it pull that air from?
Look at the bottom of your PC case. If there is a ventilated, filtered opening directly underneath where the PSU sits, you should install the power supply with the fan facing down. This allows it to draw cool, fresh air directly from outside the case, creating its own isolated cooling loop. This is the ideal orientation in most modern cases.
However, if your case has a solid bottom panel with no ventilation, you must install the power supply with the fan facing up. In this position, it will draw air from inside the case. It’s not as efficient, but it’s the correct way to do it in that scenario. Installing it fan-down in a case with no bottom vent would suffocate the PSU, causing it to overheat.
How Do I Secure the New PSU?
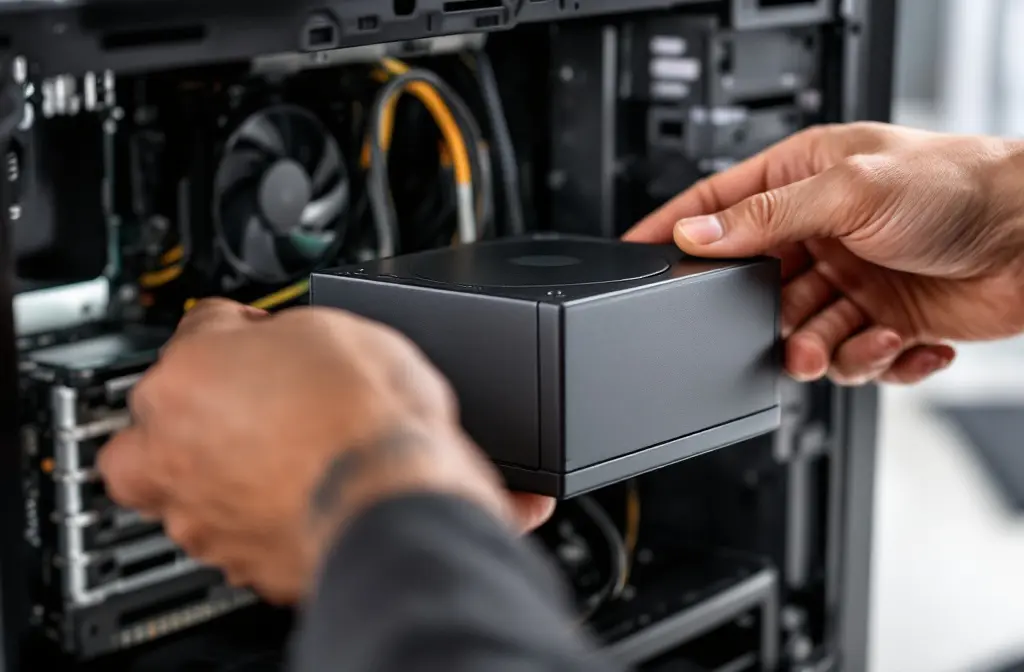
With the orientation figured out, the rest is simple. Gently slide the new power supply into the bay from inside the case. Line up the screw holes on the back of the PSU with the corresponding holes on the back of your PC case.
Use the screws that came with your new power supply. Get all four screws started by hand first, turning them just enough to catch the threads. This ensures everything is properly aligned before you tighten them down. Once all four are in place, you can use your screwdriver to tighten them snugly. Don’t overtighten them to the point of stripping the screws, but make sure they are firm and the PSU doesn’t wobble.
What’s the Best Order to Connect the Cables?
Now for the main event: connecting everything. If you have a modular PSU, this is the time to select only the cables you need. This is a huge advantage for keeping your case interior clean.
A logical order can make the process much smoother. I always recommend routing and connecting the most difficult cables first, which are usually the ones at the top of the motherboard.
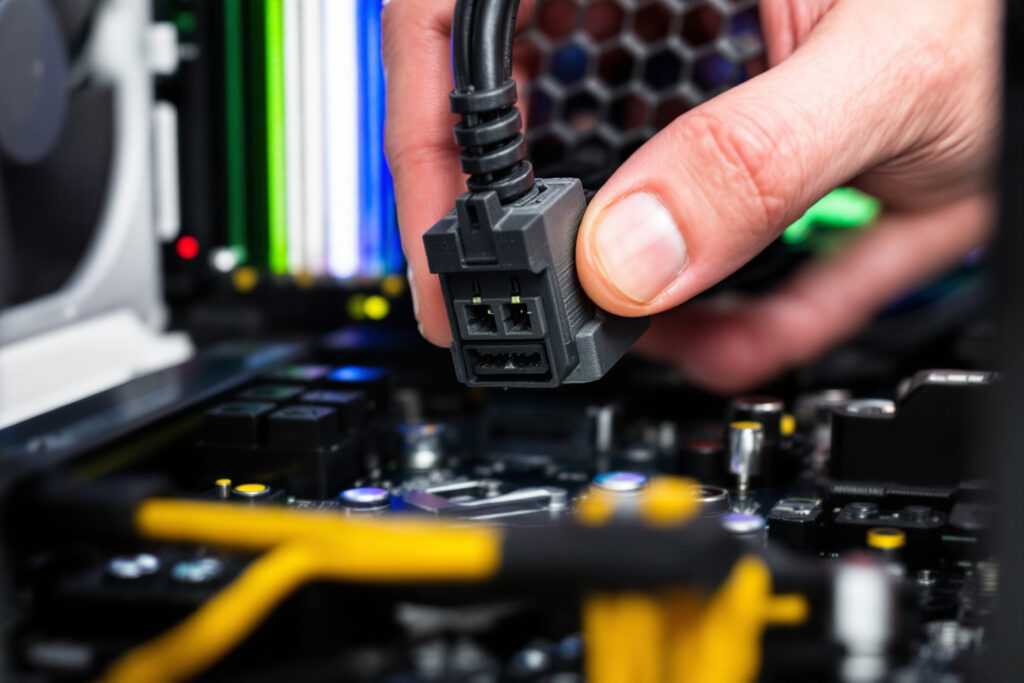
- CPU Power (8-pin): This is almost always the biggest pain. The connector is tucked away at the top-left of the motherboard, often in a tight space. Route this cable behind the motherboard tray and plug it in before you do anything else.
- Motherboard Power (24-pin): This is the big one. Route it through the most convenient opening from behind the motherboard tray and plug it in firmly. You should hear a ‘click’ as the latch engages.
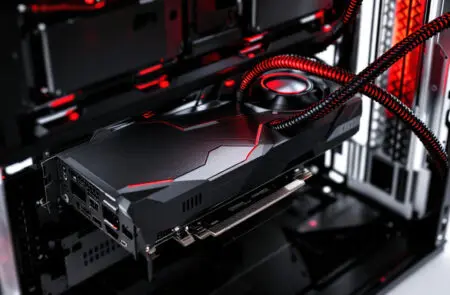
- PCIe Power for GPU: Next, connect the power cable(s) to your graphics card. Route them from the back to keep them as tidy as possible.
- SATA Power and Peripherals: Finally, connect your storage drives, fans, and any other peripherals. These cables are usually easier to manage and can be routed around the larger ones you’ve already installed.
Take your time with each connection. Ensure they are fully seated and the clips have locked in place. A loose connection is a common point of failure.
Can We Make This Look a Little Nicer? Let’s Talk Cable Management.
At this point, your PC should be functional. All the necessary power connections are made. But it probably looks like a rat’s nest of wires. Taking an extra 15-20 minutes to manage these cables is one of the things that separates a sloppy build from a professional one. And it’s not just for aesthetics.
A messy case interior can be a nightmare to work on later. If you need to swap a drive or add more RAM, you don’t want to have to fight through a jungle of wires just to get to the component. Let’s clean it up.
Why Should I Even Bother With Cable Management?
I get it. You’ve done the hard part, and you’re anxious to power it on. Why spend more time tucking away wires? There are some very practical reasons.
First and foremost is airflow. Cables dangling in the middle of your case obstruct the path of air moving from your intake fans to your exhaust fans. This creates hot spots and forces your fans to work harder and louder to keep your CPU and GPU cool. Tucking cables away creates clear channels for air to flow, resulting in a cooler and quieter system.
Second, it makes future maintenance and upgrades a breeze. Need to add another SSD? No problem. The SATA power connector is neatly tied away right where you need it, not buried under a dozen other wires.
Finally, it reduces dust buildup. Less clutter means fewer surfaces for dust to settle on, which also contributes to better long-term thermal performance.
What are Some Pro Tips for Tidy Cables?
Every case is different, but the principles of good cable management are universal. The goal is to hide as much of the cable length as possible and only expose what’s necessary to make the connection.
- Use the Back Panel: The space behind your motherboard tray is your best friend. Modern cases are designed with this in mind, providing ample room and tie-down points. Route every possible cable through this back compartment.
- Group Cables Together: Bundle cables that are going to the same general area. For example, use a velcro strap to group the cables for your storage drives together. This creates a single, thicker “trunk” of cables instead of many small, messy “branches.”
- Follow the Case’s Contours: Run your cables along the edges and channels of the case frame. Use the built-in loops and tie-down points to secure them with zip ties or velcro. This keeps them flat against the chassis and out of sight.
- Don’t Pull Too Tight: When using zip ties, tighten them just enough to hold the cables in place. Pulling them too tight can damage the wire insulation over time.
A fully modular PSU makes all of this significantly easier, as you simply don’t have to deal with any cables you’re not using. It’s an investment that pays off right here.
The Moment of Truth: Will It Turn On?
This is it. The heart is in place, the arteries are connected, and everything looks clean and tidy. Your hands might be a little sweaty. That’s normal. It’s time to see if our patient will come to life. But before we hit the switch, a final pre-flight check is in order to prevent any unpleasant surprises. We want to hear the gentle hum of fans, not a pop or a fizzle.
Let’s run through the final checklist. This is the last barrier between you and the sweet satisfaction of a successful upgrade.
What Should I Double-Check Before Plugging It In?
Keep the side panels of the case off for this initial test. This allows you to quickly see if all the fans (CPU, GPU, case fans) are spinning up as they should.
Do one last visual scan of the interior.
- Are all the essential connections—24-pin motherboard, 8-pin CPU, and any GPU power—securely clicked into place? Give them a gentle tug to be sure.
- Are there any loose screws sitting on the motherboard or other components? A loose screw can cause a catastrophic short circuit.
- Are any cables pressing against fan blades? Make sure everything is clear of moving parts.
- Finally, check the little rocker switch on the back of the PSU itself. Make sure it’s in the ‘O’ position, which means Off.
How Do I Safely Test the New PSU?
Okay, it’s time. Plug the main power cord into the back of the new power supply, and plug the other end into a wall outlet.
Now, flip that rocker switch on the back of the PSU from ‘O’ to ‘I’ for On.
Take a deep breath.
Press the main power button on the front of your computer case.
You should be greeted by the whir of fans spinning to life and the glow of indicator lights on your motherboard and other components. If your monitor is connected, you should see the BIOS screen or your manufacturer’s logo appear within a few seconds. Congratulations! You’ve done it. Let the system boot into your operating system to confirm everything is stable.
What Do I Do If It Doesn’t Start?
If you press the button and nothing happens, do not panic. This is a common occurrence, and it’s almost always due to a simple, fixable issue.
First, check the obvious: Is the switch on the back of the PSU on? Is the wall outlet working?
If those are fine, the next step is to re-check your connections. Power everything down, unplug the cord from the PSU, and discharge the system again. Now, go back and firmly re-seat every single power connection you made: the 24-pin, the 8-pin CPU, the GPU power. Make sure they are all the way in. A connection that looks secure can sometimes be just a millimeter short of making full contact.
Also, double-check that you plugged the tiny front panel connectors from your case (power switch, reset switch, etc.) into the correct pins on your motherboard. If the power switch cable isn’t connected right, pressing the button won’t do anything. Refer to your motherboard manual for the correct pin layout.
Nine times out of ten, one of these steps will solve the problem.
You Did It
With the system successfully booting, you can now perform a proper shutdown, unplug the power, and put the side panels back on your case. You’ve successfully performed one of the most crucial upgrades a PC can have. You didn’t just install a component; you gave your entire system a stronger, more reliable foundation. The skills you used today—patience, attention to detail, and methodical work—are the bedrock of being a PC builder.
So, sit back and admire your work. The next time you fire up a demanding game or tackle a heavy workload, know that the clean, stable power feeding your machine is there because of the work you put in. You’ve mastered how to install a power supply unit PSU, and your PC is better for it.
FAQ – How to install a power supply unit PSU
How can I ensure my cable management improves airflow and ease of future upgrades?
Use the case’s back panel to route cables using zip ties or Velcro straps, keep cables flat against the case, and bundle cables that go to similar areas. This creates a tidy interior that improves airflow, reduces dust buildup, and makes upgrades easier.
What are the correct steps for connecting the cables to my new PSU?
Start by connecting the CPU power cable first, followed by the motherboard’s 24-pin connector, then the PCIe cables to the graphics card, and finally SATA and Molex power cables for drives and peripherals. Ensure each connector is fully seated and locked.
What is the proper orientation of the PSU fan during installation?
If your case has a ventilated bottom panel, install the PSU with the fan facing down to intake outside air. If there is no bottom vent, place the fan facing up to draw air from inside the case, preventing overheating.
How do I determine the correct wattage and size for my new PSU?
Choose a PSU with wattage capacity about 20-30% higher than your system’s total power draw, which you can calculate using online PSU calculators or tools like PCPartPicker. Ensure the physical size (ATX, SFX) matches your case specifications.
What safety precautions should I take before installing or replacing a PSU in my PC?
Before working on your PC, always unplug it from the power outlet, press the power button to discharge residual electricity, and disconnect all internal cables. Wearing an anti-static wrist strap and grounding yourself prevents static electricity from damaging components.

