Did you know that over 3 billion people worldwide are active video gamers? That’s a staggering number. Consequently, it means millions are trying to get the best performance possible. Many wonder if building their own gaming PC is the magic bullet. The short answer is a resounding yes. If you want to know how to build a gaming computer, you’ve come to the right place. This isn’t just a list of parts. Instead, it’s a guide to understanding the why behind each choice, helping you craft a machine that’s truly your own.
I remember my first build. It was a mess of cables, confusion, and a little bit of panic. But when I pressed that power button and it whirred to life, the feeling was incredible. You can have that feeling, too, and probably with a lot less panic.
More in Hardware Category
How to Build a Gaming PC for Beginners
Why Should You Even Bother Building Your Own PC?
Let’s be honest, you can buy a pre-built gaming PC from a dozen different companies. They arrive at your door ready to go. So, why go through the trouble of building one yourself? The answer boils down to three things: control, cost, and connection.
First, you get total control. Every single component is your choice. You’re not stuck with a cheap power supply or a slow storage drive that a big company used to cut costs. You pick the parts that matter most for the games you play.
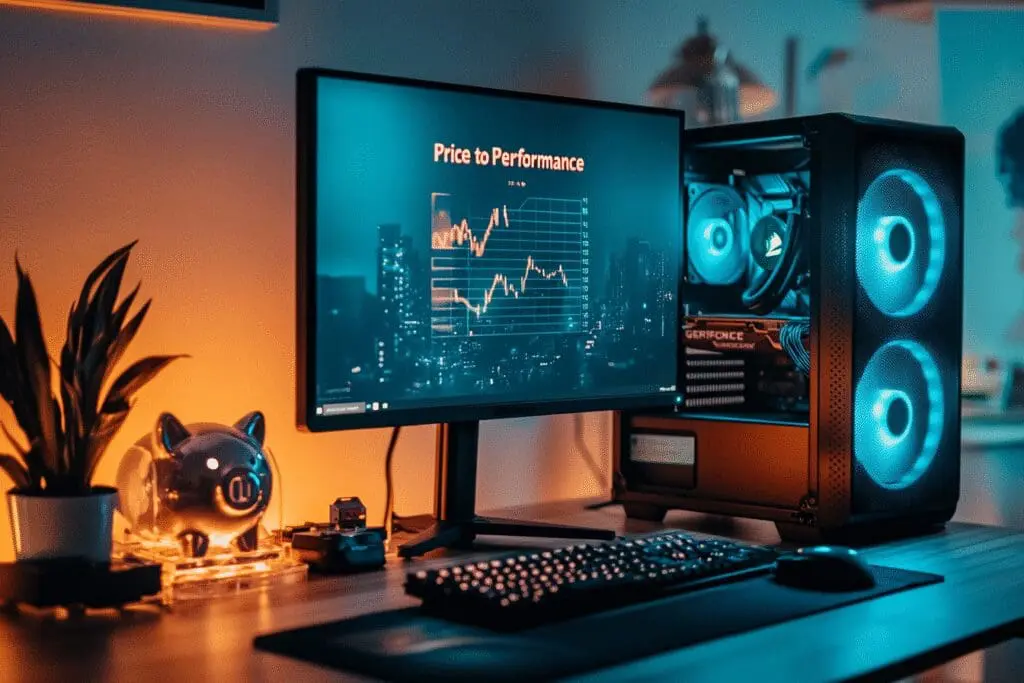
Second, it’s often cheaper. By buying the components individually, you can hunt for sales and avoid the labor costs that manufacturers bake into their prices. That saved money can go towards a more powerful graphics card or a bigger monitor.
Finally, you build a connection with your machine. You understand how it works. When something needs an upgrade or a fix, you’re not intimidated. You know it inside and out because you put it together. That first successful boot-up is a rite of passage.
How Do You Set a Realistic Budget for Your Gaming Rig?
Before you buy a single part, you need a number. Your budget will dictate everything. It’s easy to get carried away, so setting a firm budget is your most important first step. Think about what you truly need.
- Entry-Level (Around $800 – $1,200): This is the sweet spot for amazing 1080p gaming. You’ll be able to play almost any modern title at high settings with smooth frame rates.
- Mid-Range (Around $1,200 – $2,000): This tier is perfect for high-refresh-rate 1080p gaming or for making the jump to 1440p resolution. Parts are more powerful, and you have more flexibility.
- High-End ($2,000+): This is the realm of 4K gaming, virtual reality, and streaming. Here, you’re buying top-of-the-line components for enthusiast-level performance.
What Hidden Costs Should You Prepare For?
Your component list isn’t the final price. I learned this the hard way when I realized I’d forgotten about the operating system on my first build. Therefore, you need to account for the extras.
- Operating System: A Windows license can cost over $100.
- Monitor: A great PC is wasted on a bad monitor. Factor in at least $150-$300 for a solid gaming display.
- Keyboard & Mouse: Don’t neglect your main input devices. A good mechanical keyboard and a responsive mouse are essential.
- Headset/Speakers: For immersive audio.
- Wi-Fi Adapter: If your motherboard doesn’t have it built-in.
What Are the Core Components of Any Gaming Computer?
Think of your PC as a team. Every player has a specific role, and they all need to work together to win. Here are your star players:
- CPU (Central Processing Unit): The brain of the operation.
- GPU (Graphics Processing Unit): The artist that renders the beautiful visuals.
- Motherboard: The central nervous system connecting everything.
- RAM (Random Access Memory): The short-term memory for quick data access.
- Storage (SSD/NVMe): The long-term memory where games and your OS live.
- PSU (Power Supply Unit): The heart that pumps power to everything.
- Case: The skeleton that holds and protects it all.
Choosing the right combination of these parts is the real art of PC building. Let’s break down how to pick each one.
How Do You Choose the Right CPU for Gaming?
The CPU is the general-purpose thinker in your system. For years, the debate has been Intel vs. AMD. Honestly, in 2025, you can’t go wrong with either. Both make fantastic gaming CPUs. Instead of focusing on the brand, focus on the specs that matter for gaming.
For pure gaming, a CPU with 6 to 8 cores is plenty. High clock speeds (measured in GHz) are also very beneficial, as they help the processor think faster. My advice? Look at current benchmarks for the games you play. Find a CPU that performs well in your budget and build the rest of your system around it.
I once spent three weeks agonizing over an Intel i5 versus an AMD Ryzen 5. The truth is, both would have been great. Don’t get paralyzed by choice; pick a well-reviewed chip in your price range and move on.
Is Overclocking Really Worth the Hassle for the Average Gamer?
Overclocking is pushing your CPU to run faster than its factory settings. It can give you a “free” performance boost. However, it also generates more heat and can potentially reduce the lifespan of your component if done incorrectly.
For most people, I’d say no, it’s not worth the hassle. Modern CPUs are so powerful out of the box that the small gains from overclocking are often unnoticeable in real-world gaming. If you’re an enthusiast who loves to tinker, go for it! But if you just want to game, you can safely ignore it.
What’s the Single Most Important Part of a Gaming PC?
If you can only splurge on one component, make it the graphics card, or GPU. This is the piece of hardware that renders the images on your screen. A powerful GPU means higher resolutions, higher settings, and smoother frame rates. It’s the engine of your gaming experience.
The main players here are NVIDIA (GeForce RTX series) and AMD (Radeon RX series). Again, both are excellent. Check recent reviews and performance charts to see which card offers the best performance for your budget. Pay attention to VRAM, which is the GPU’s own dedicated memory. With modern games using high-resolution textures, having at least 8GB of VRAM is important, and 12GB or more is ideal for 1440p and 4K.
How Can You Pick a Motherboard That Won’t Bottleneck Your System?
The motherboard is the unsung hero. It doesn’t give you more frames per second, but a bad one can cause endless headaches. The most important factor here is compatibility.
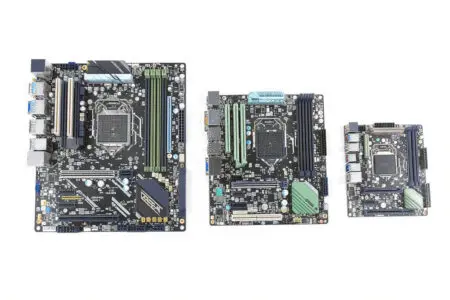
Your motherboard’s “socket” must match your CPU (for example, an AMD AM5 CPU needs an AM5 motherboard). Its “chipset” determines what features it supports. Don’t worry too much about the technical details. PCPartPicker.com is a fantastic tool that automatically checks compatibility for you.
Think of the motherboard as the foundation of a house. You need to make sure it’s the right size and has all the necessary connections for your other components.
What Ports and Features Should You Look For on a Motherboard?
When you’re comparing motherboards, look for features that will make your life easier now and in the future.
- M.2 NVMe Slots: You want at least one or two of these for super-fast storage.
- Sufficient USB Ports: Think about everything you’ll plug in. Keyboards, mice, headsets, webcams, controllers—they add up fast. USB-C is a great future-proofing feature.
- Built-in Wi-Fi: A motherboard with Wi-Fi 6E built-in can save you from buying a separate adapter.
- Good VRMs: Voltage Regulator Modules deliver clean power to the CPU. Reviews will often mention VRM quality, which is crucial for higher-end processors.
How Much RAM Do You Actually Need for Modern Gaming?
RAM is your PC’s multitasking muscle. For years, 8GB was enough. That time has passed.
Today, 16GB is the sweet spot for gaming. It provides plenty of headroom for modern titles, plus background applications like Discord or a web browser. If your budget allows, jumping to 32GB is a great way to future-proof your build, but it won’t provide a huge performance boost in most games right now.
When you buy RAM, it usually comes in a kit of two sticks. This allows it to run in “dual-channel” mode, which is significantly faster. So, for 16GB, you’d buy a 2x8GB kit.
What’s the Best Storage Solution: SSD, NVMe, or Hard Drive?
This one is simple: get an SSD. Traditional hard disk drives (HDDs) are slow and should only be used for mass storage of photos or videos. Your games and your operating system belong on a Solid State Drive (SSD).
The difference is staggering. I remember upgrading my old PC from a hard drive to a basic SSD. The boot time went from over a minute to about 15 seconds. Game loading times vanished. It felt like a whole new computer.
There are two main types of SSDs:
- SATA SSD: These are great, affordable drives that are miles faster than any HDD.
- NVMe M.2 SSD: These plug directly into the motherboard and are even faster than SATA SSDs.
Ideally, use at least a 1TB NVMe SSD for your operating system and your most-played games. If you need more space, you can add a larger, cheaper SATA SSD for the rest of your game library.
How Do You Choose a Power Supply That Won’t Fry Your Components?
This is the one part you absolutely cannot cheap out on. The power supply unit (PSU) takes electricity from your wall and converts it into the precise voltages your delicate components need. A cheap, poorly made PSU can fail spectacularly, potentially destroying your entire system. For a foundational understanding of what a PSU does, this resource from Stanford University is a great primer.
Look for a PSU from a reputable brand like SeaSonic, Corsair, or be quiet!. Pay attention to two things: wattage and efficiency rating. Use a PSU calculator online to determine how much wattage you need, and then add about 100-150W for future upgrades.
The efficiency rating (like 80+ Bronze, Gold, Platinum) tells you how efficiently it converts power. A higher rating means less electricity is wasted as heat. An 80+ Gold rated PSU is a fantastic choice for most builds, offering a great balance of price and performance.
Does Your Computer Case Actually Affect Performance?
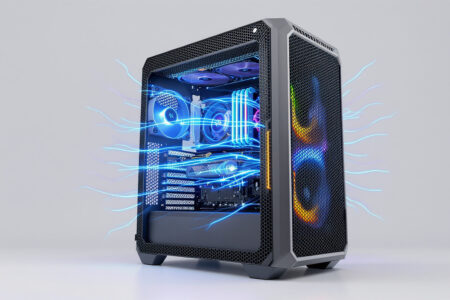
Yes, it absolutely does! While a case is largely about aesthetics, its primary job is to allow for good airflow. Your components generate heat, and if that heat can’t escape, they will slow down (a process called thermal throttling) to protect themselves.
Look for a case with a mesh front panel, as this allows for the best air intake. Make sure it has enough room for your components, especially your graphics card, which can be quite long.
Here are a few things to look for in a great case:
- Excellent airflow design (mesh front is a plus).
- Good cable management options (cutouts, tie-down points).
- Enough space for all your components.
- Dust filters to keep the inside clean.
- Quality materials that feel sturdy.
What Tools Do You Absolutely Need Before You Start Building?
You don’t need a massive toolkit. For 99% of the build process, all you need is a single Phillips head screwdriver. That’s it.
A few other things can be helpful:
- Zip ties or Velcro straps: For cable management.
- A flashlight: To see inside the dark corners of the case.
- An anti-static wrist strap: This grounds you to prevent static electricity from damaging components. I’ve built dozens of PCs on a wooden table without one and been fine, but for your first time, it’s a cheap piece of insurance. Why risk it?
What’s the Correct Order to Install Components?
Okay, you have all your parts. Now for the fun part. Here’s a simple, step-by-step order of operations that works for most builds.
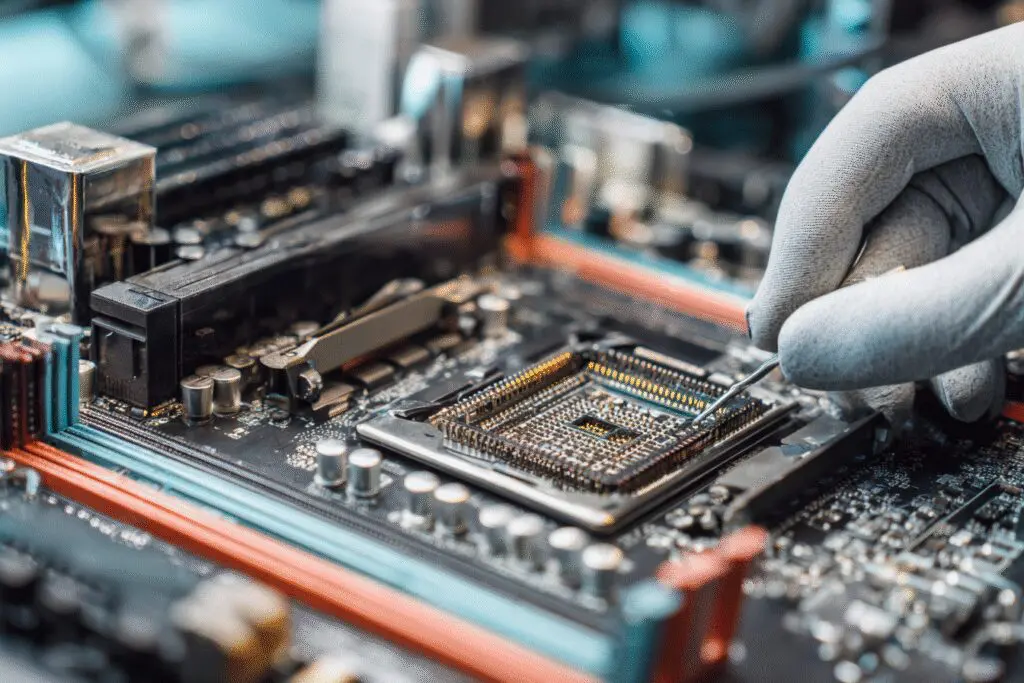
- Prep the Motherboard: Before putting anything in the case, install the CPU, RAM, and any M.2 NVMe drives onto the motherboard on top of its box. It’s much easier to work this way.
- Prep the Case: Install the motherboard standoffs (tiny screws that prevent the motherboard from shorting out on the case) and the rear I/O shield.
- Install the Motherboard: Carefully lower the motherboard into the case and screw it into the standoffs.
- Install the Graphics Card: This is usually the largest component. It will click securely into the top long slot on your motherboard.
- Install Storage and Power Supply: Mount any SATA SSDs and then install the PSU.
- Connect the Cables: This is the most tedious part. Connect the main power cables to the motherboard and GPU. Then, connect the tiny, frustrating front panel connectors for the power button and USB ports. Be patient and consult your motherboard manual.
How Can You Tame the Cable Management Monster?
Good cable management isn’t just for looks; it also improves airflow. Route as many cables as you can behind the motherboard tray. Use zip ties to bundle them together. Your goal isn’t a museum piece on the first try. Instead, the main objective is just to keep cables from getting tangled or hitting a fan. Take your time.
What Should You Do Immediately After Your PC Turns On?
You’ve connected everything, and you hit the power button. It works! What’s next? Your first step is to enter the BIOS (or UEFI, the modern version). You can usually do this by pressing the “Delete” key as it boots up.
In the BIOS, you don’t need to change much. Just check that everything is being recognized. Does it show the correct CPU? Is all of your RAM detected? Is your SSD listed as a boot device?
The one setting you absolutely should change is the memory profile. By default, your RAM will run at a slow speed. In the BIOS, look for a setting called XMP (for Intel) or EXPO (for AMD) and enable it. This will make your RAM run at its advertised fast speed with a single click.
How Do You Install Windows and Essential Drivers?
To install Windows, you’ll need to create a bootable USB drive using another computer. The tool is free on Microsoft’s website. Once you have it, plug it into your new PC, turn it on, and follow the on-screen instructions.
After Windows is installed, you have one more crucial step: install your drivers. Most importantly, go directly to the NVIDIA or AMD website and download the latest driver for your specific graphics card. This will unlock the full performance of your GPU.
So, Is Building a Gaming PC Still Worth It?
After all that, is it worth the effort? Every single time. The experience of choosing your parts, putting them together, and seeing your creation come to life is incredibly rewarding.
You’re not just building a computer. You’re building your computer. You’re learning a valuable skill and gaining a deeper understanding of the technology you use every day. And at the end of it all, the machine you build with your own hands will always feel faster, run better, and mean more than any box you can buy off a shelf. Good luck.
Frequently Asked Questions – How to Build a Gaming Computer
What are important considerations when choosing a power supply for my gaming PC?
Ensure the PSU provides enough wattage with some extra capacity, has an 80 Plus efficiency rating like Bronze or Gold, and is modular for easier cable management and a neater build.
How do I select a motherboard that fits my build?
Choose a motherboard with a socket type matching your CPU, a suitable form factor for your case, enough RAM slots, and necessary connectivity options like USB ports and M.2 slots.
What should I look for in a graphics card for gaming?
Look for a GPU with sufficient VRAM for your desired resolution, such as 8GB for 1080p or more for 4K gaming, and check independent benchmark reviews to find the best performance for your games.
How do I choose the right CPU for my gaming PC?
Select a CPU with at least 6 cores and a high clock speed, considering brands like Intel or AMD, and ensure it matches the socket type of your motherboard to ensure compatibility.
What are the main advantages of building my own gaming computer?
Building your own gaming computer offers full control over parts, often better price-to-performance ratio, and valuable hands-on experience that helps with future upgrades and troubleshooting.

