Ever get that shiny new gadget home, buzzing with excitement, only to turn to the back of your computer and realize you’re about to play a high-stakes game of Port Tetris? We’ve all been there. You unplug the webcam to make room for the drawing tablet, then unplug the printer to charge your phone. It’s a frustrating dance that begs a fundamental question. If you’re asking yourself, “How many USB ports does my motherboard have?” you’ve come to the right place. The answer is often more complex—and more encouraging—than just counting the visible slots on the back.
The truth is, your computer likely has more USB potential than you’re currently using. These connection points are split between the obvious external ports and the less-obvious internal ones. Understanding both is the key to unlocking your PC’s full connectivity. Let’s dive in and demystify the entire process, starting with the easiest place to look.
More in Motherboards & Storage Category
Are External SSD Good for Gaming
What is the Motherboard I/O Panel and Where Do I Find It?
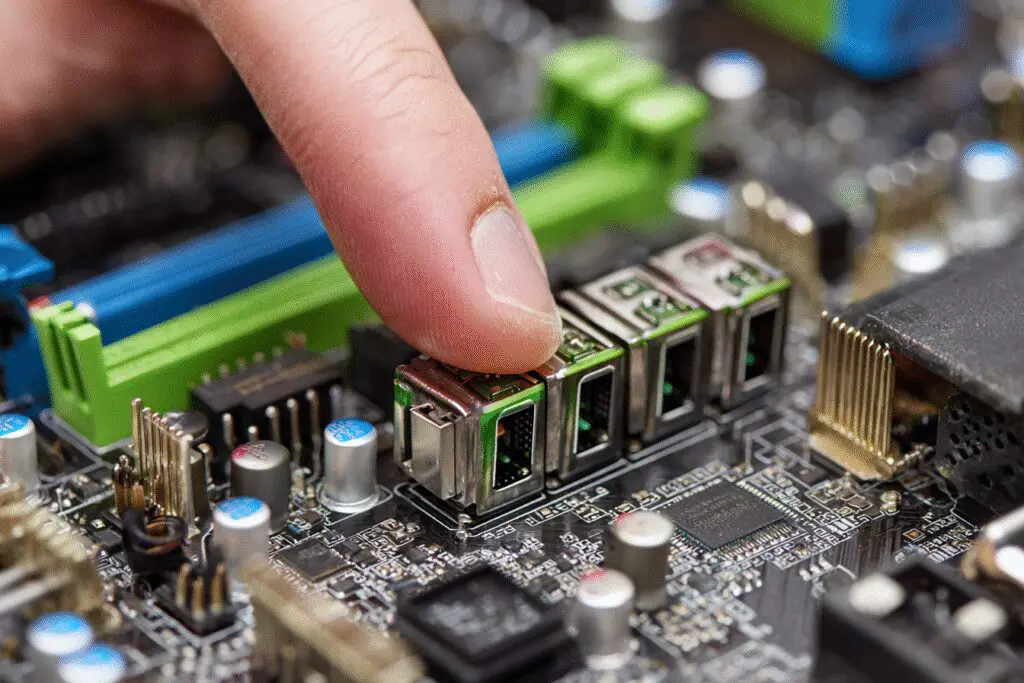
First things first, let’s talk about the main hub of your computer’s external connections. This is the motherboard’s Input/Output (I/O) panel.
In simple terms, it’s that rectangular cluster of various ports on the back of your PC tower where you plug in your monitor, keyboard, mouse, and other peripherals. It’s physically attached to the motherboard itself, which is why the ports you find here are a direct reflection of what the motherboard offers out of the box.
I remember my very first PC build vividly. I spent hours meticulously seating the processor and clicking the RAM into place. However, the last, and surprisingly most fiddly, part of the whole ordeal was snapping that thin, tinny I/O shield into the back of the case. It’s that little metal plate, often with sharp edges, that labels all your ports and protects the internals. That shield is the gateway to your motherboard’s built-in connectivity.
How Do I Count the USB Ports on the Back of My Computer?
This is the straightforward part. Turn your computer around (gently!) and take a look at the I/O panel. You’re looking for the classic rectangular ports that are the universal symbol for USB. Simply count them up.
However, you’ll quickly notice they aren’t all the same. They often have different colored plastic inside, which usually signifies their speed and generation. While this color code isn’t 100% standardized, it generally follows a common pattern:
- Black or White (USB 2.0): These are the oldest and slowest ports you’ll likely find. They are perfectly fine for keyboards, mice, basic webcams, and printers. In short, they are ideal for any device that doesn’t need to transfer a lot of data quickly.
- Blue (USB 3.0 / USB 3.1 Gen 1 / USB 3.2 Gen 1): These are the workhorses of modern computing. They offer a significant speed boost over USB 2.0. Consequently, you should use these for external hard drives, high-resolution webcams, and anything else that needs a fast data connection.
- Red, Teal, or Yellow (USB 3.1 Gen 2 / USB 3.2 Gen 2 and faster): These indicate even faster speeds. Sometimes, the yellow ports also signify an “always-on” feature, meaning they can supply power to charge devices even when the computer is turned off.
- USB Type-C: This is the smaller, oval-shaped, reversible port. It’s the newest physical standard and can support everything from basic data transfer to video output and high-speed storage, depending on how the manufacturer implemented it.
A word of caution, though. I’ve seen high-end motherboards from certain brands that use their own color schemes (like all-black ports for a stealth look) just for aesthetics. This can throw you for a loop. Therefore, the most reliable way to identify a port’s speed is to look for the tiny symbols printed next to it. A “SS” (SuperSpeed) or “SS10” indicates a USB 3.x port.
But Wait, Are There More USB Ports Hiding Inside My PC?
Yes, absolutely! The ports on the back are only half the story. Your motherboard also has internal connections called “headers” that provide the functionality for the USB ports on the front (or top) of your computer case.
This is a critical point that many people overlook. If the USB ports on the front of your tower have never worked, it’s probably because the cable from those ports was never plugged into the correct header on the motherboard. It’s an incredibly common rookie mistake during a PC build; I’ve made it myself more than once. My current PC case has four fantastic front-panel USB ports, but they would be nothing more than decorative plastic holes if I hadn’t connected their cables to the right spots on the board.
These internal headers are your motherboard’s hidden potential for expansion.
How Do I Find and Identify Internal USB Headers on My Motherboard?
To find these, you’ll need to (safely) open your computer case. Power down your PC, unplug it from the wall, and touch a metal part of the case to ground yourself and discharge any static electricity.
Once you’re inside, look down at the surface of the motherboard, usually along the bottom or right-hand edge. You are searching for sets of pins sticking up from the board. These are the headers. They are typically labeled with small white text printed directly on the circuit board.
- USB 2.0 Headers: These are almost always a block of 9 pins arranged in two rows (one row has 5 pins, the other has 4, with one pin intentionally missing as a “key” to prevent you from plugging the connector in upside down). The label will often read something like “F_USB1,” “JUSB1,” or simply “USB1.”
- USB 3.0/3.1/3.2 Headers: This is a larger, more modern connector. It’s a rectangular 19-pin block (often blue) that connects the faster front-panel ports. The label might be “USB3_1_2” or something similar. It’s much bulkier than the 2.0 header.
- USB-C Header (USB 3.2 Gen 2×2): This is the newest type. It’s a smaller, sleeker-looking connector that provides the signal for a front-panel USB-C port.
How Can I Figure Out How Many Ports Each Header Provides?
There’s a simple rule of thumb that holds true for most consumer motherboards.
- One standard 9-pin USB 2.0 header provides connectivity for two USB 2.0 ports.
- One standard 19-pin USB 3.0 header typically provides connectivity for two USB 3.0 ports. Sometimes a case might only use it for a single port, but the header itself almost always supports two.
So, if you look at your motherboard and see two USB 2.0 headers and one USB 3.0 header, you know your board can support an additional four USB 2.0 ports and two USB 3.0 ports, provided your case has the physical slots and cables for them.
What’s the Foolproof Way to Know Exactly How Many USB Ports My Motherboard Has?
Counting ports on the back and headers on the inside is great, but what if you want the definitive, undeniable, 100% correct answer? There’s only one way: consult the motherboard manual.
I know, I know. Nobody truly enjoys reading tech manuals. They can be dry, dense, and feel like they were translated through five different languages before reaching you. For this specific task, however, the manual is the golden ticket. It removes all guesswork. I once spent the better part of an hour troubleshooting a non-functional front port on a friend’s build. After trying everything, I finally looked up the manual, only to discover we had plugged the case cable into a proprietary header meant for a specific add-on card. The manual would have saved us all that time and frustration.
Where Can I Find My Motherboard’s Manual if I’ve Lost It?
Losing the physical booklet is incredibly common. Thankfully, every manufacturer provides digital PDF versions on their website. The key is to find your motherboard’s exact model number.
You can find the model number in a few ways:
- Look at the board itself: It’s usually printed in large letters somewhere near the processor socket or RAM slots.
- Use Software: Free programs like CPU-Z or Speccy can analyze your system and tell you the exact motherboard model without you ever having to open the case.
- Check the BIOS/UEFI: When your computer first boots, pressing a key (often DEL, F2, or F12) will take you to the BIOS setup screen, which prominently displays the motherboard model.
Once you have the model number (e.g., “ASUS ROG STRIX B550-F GAMING”), simply search online for “[Your Motherboard Model] + manual.” The manufacturer’s official support page should be the top result. For more general information on identifying your hardware, resources from educational institutions can be incredibly reliable. For instance, Indiana University offers a great knowledge base article on how to find out what is inside your computer.
What Should I Look For in the Manual?
Once you’ve downloaded the PDF, you don’t need to read the whole thing. Use the search function (Ctrl+F) and look for a section titled “Specifications,” “Internal Connectors,” or “Onboard Connectors.”
This section will give you a beautifully clear and concise list. It will state, without ambiguity:
- Rear Ports: “4 x USB 3.2 Gen 1 ports,” “2 x USB 2.0 ports,” etc.
- Internal Headers: “1 x USB 3.2 Gen 1 header supports an additional 2 USB ports,” “2 x USB 2.0 headers support an additional 4 USB ports.”
This is the ultimate source of truth. It tells you not just what you have, but the full potential of what you could have if you paired it with the right case or accessories.
What If I Don’t Have Enough USB Ports for All My Gadgets?
So you’ve done the audit. You’ve counted the back ports, identified the internal headers, and realized you’re still coming up short. In our device-heavy world, this is a common problem. Fortunately, it’s also an easy one to solve.
Should I Use a USB Hub?
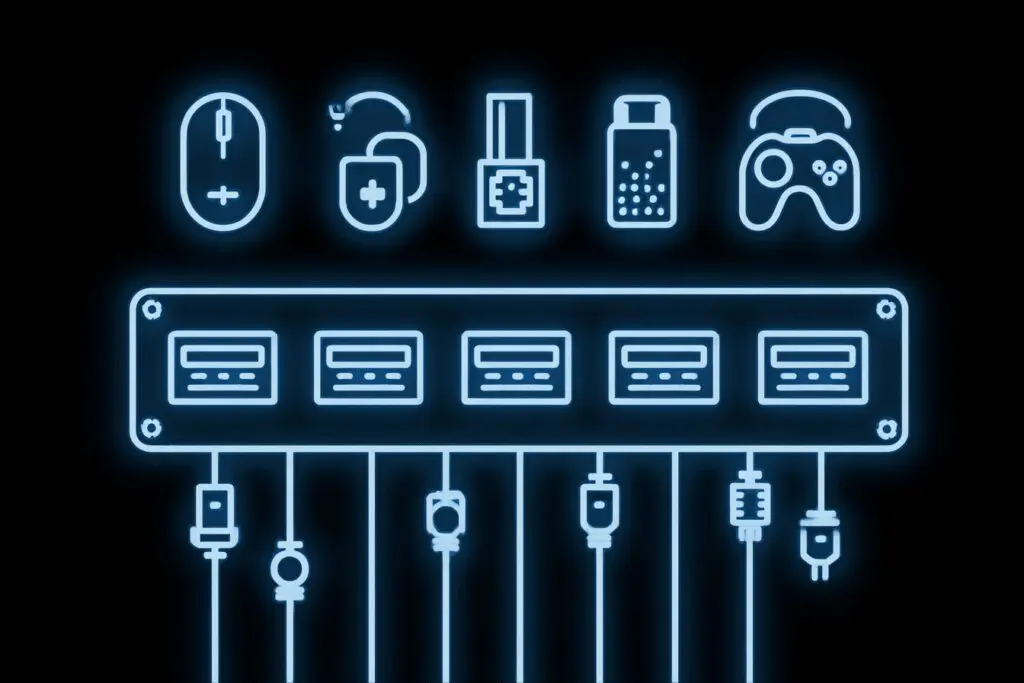
A USB hub is the simplest and most common solution. It’s a small external device that plugs into one of your existing USB ports and expands it into several more. Think of it like a power strip for your data.
There are two main types:
- Unpowered Hubs: These are cheap and portable. They draw all their power from the single USB port they are plugged into. They are great for connecting low-power devices like mice, keyboards, or flash drives.
- Powered Hubs: These come with their own AC adapter that plugs into the wall. Because they have their own power source, they are essential for connecting multiple high-power devices like external hard drives, webcams, or for charging phones and tablets.
The main drawback of a hub is that all the devices plugged into it have to share the bandwidth of the single port it’s connected to. It’s like a single water pipe splitting off to four different faucets. If you try to turn them all on full blast at once, the pressure drops for everyone. For most users, this is perfectly fine. But for power users, there’s a better option.
Can I Add More USB Ports with a PCIe Card?
Yes, and this is the most robust solution. If you look inside your PC, you’ll see several long slots on the motherboard below the graphics card. These are Peripheral Component Interconnect Express, or PCIe, slots.
You can buy an inexpensive PCIe USB expansion card, which looks like a small circuit board. You simply plug this card into one of those free slots, and it will provide you with a new set of USB ports on the back of your computer.
The massive advantage here is that these new ports are getting their own dedicated data lanes directly from the motherboard. There’s no sharing of bandwidth like with a hub. I’m a flight simulator enthusiast, and my desk setup looks like an octopus had a fight with a computer—a yoke, throttle quadrant, rudder pedals, and head tracking device all need their own USB port. A hub just couldn’t handle the constant data stream from all those devices at once. A dedicated PCIe USB card was the only thing that stopped my gear from randomly disconnecting mid-flight. It was a total game-changer.
Does the Type of USB Port Actually Matter?
In a word: absolutely. The difference in performance between the generations is staggering. Using the right port for the right device can make a huge difference in your daily experience.
Think of it this way: USB 2.0 is a quiet country road. It’s perfectly adequate for the slow, steady traffic of your mouse clicks and keyboard strokes. USB 3.x, on the other hand, is a multi-lane superhighway. It’s essential for transferring massive files to an external SSD or running a high-definition webcam for streaming. Trying to transfer a 100GB video project over a USB 2.0 connection is an exercise in patience that you wouldn’t wish on your worst enemy. It could literally be the difference between a few minutes and a few hours.
What About All These Confusing Names like “USB 3.2 Gen 2×2”?
Don’t worry, you’re not alone if you find the naming scheme confusing. The marketing names for USB standards are a complete and utter mess. It feels like they were intentionally designed to be as complicated as possible.
My honest advice? Ignore the convoluted names. Instead, look for the speed, which is measured in Gigabits per second (Gbps).
- 5 Gbps: This is your standard USB 3.0 / 3.1 Gen 1 / 3.2 Gen 1. Great all-around speed.
- 10 Gbps: This is USB 3.1 Gen 2 / 3.2 Gen 2. Even better, great for fast external drives.
- 20 Gbps or 40 Gbps: This is top-tier stuff, found on USB 3.2 Gen 2×2 and USB4/Thunderbolt ports.
Ultimately, bigger is better. Just match your fastest devices to your fastest ports.
Final Thoughts: Unlocking Your PC’s Full Potential
It’s a journey that starts with a simple count on the back of your PC, moves to an internal investigation of headers, and ends with the ultimate source of truth: the manufacturer’s manual.
Knowing your port count isn’t just about avoiding the “unplug-replug” dance. It’s about understanding the hidden potential locked away inside that beige or black box. Your computer is often more capable than you think, and with a little exploration—and maybe a cheap expansion card—you can ensure you’ll never run out of room for your gadgets again.
Frequently Asked Questions – How Many USB Ports Does My Motherboard Have

What are internal USB headers, and why are they important?
Internal USB headers are pins on your motherboard where cables from your PC case connect, providing additional front USB ports. They come in USB 2.0, USB 3.0, and USB-C types, and are crucial for expanding your PC’s USB connectivity, especially for front panel ports.
How can I find out my motherboard model online without opening my PC?
You can find your motherboard model online by using system tools such as Windows System Information or Command Prompt to get the maker and model name. Then, search this information on the manufacturer’s website to view detailed specs, including the number of USB ports.
How do I determine how many USB ports my motherboard has using software?
You can determine your motherboard’s USB port count by using system tools like Windows System Information or Command Prompt. In System Information, look for ‘BaseBoard Manufacturer’ and ‘BaseBoard Product.’ In Command Prompt, run ‘wmic baseboard get product,manufacturer’ to find your motherboard’s details.
What do the different colors on USB ports indicate?
Different colors in USB ports signify their speed and version. Black or white ports are typically USB 2.0, blue ports are USB 3.0, teal, red, or yellow indicate USB 3.1 or USB 3.2 with higher speeds, and USB-C ports are smaller, reversible, and very fast, used for new devices.
How can I physically check the number of USB ports on my motherboard?
To physically check your motherboard‘s USB ports, turn your PC around to view the back panel. Count all the USB ports, which are rectangular in shape for USB-A and oval for USB-C, to find out how many ports your motherboard has.


